

Design a Safer Webhook Intake
Vendor events arrive before your systems are ready to trust or use them. This guide walks through a practical intake pattern that verifies, records, normalizes, and routes each event safely.
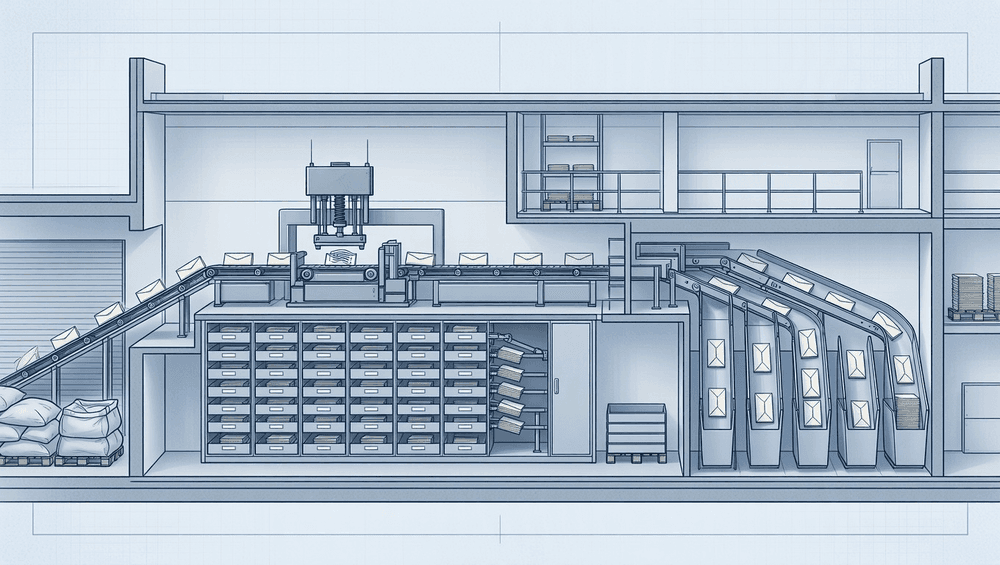
Vendor webhooks arrive on their schedule, not yours. A license renewal fires at midnight; a subscription cancellation lands while your team is mid-deployment. The safe response is a 4-step intake pattern: verify the sender, record the raw event, normalize the payload, then route idempotently. Without that sequence, events get silently dropped, processed twice, or acted on before the payload is confirmed genuine.
Why raw delivery is not enough
Most webhook documentation stops at "point your endpoint here." That instruction skips the hard part: what happens between the HTTP response and the moment your business logic acts on the data. The gap is where events get lost or duplicated.
You need a pattern that separates reception from processing. Reception is fast and defensive; processing is deliberate and auditable. Treating them as one step is the root cause of most webhook reliability problems.
- Reception: accept the request, return a fast acknowledgment, write nothing to production state.
- Processing: verify, normalize, route, and record in a controlled sequence.
Keeping these stages separate lets you replay events, inspect failures, and change downstream logic without re-negotiating with the vendor.
Step 1 — Verify the sender before anything else
The first question is not "what does this event say?" It is "did this event actually come from the vendor?" Vendors typically sign their webhook payloads with a shared secret or a public-key scheme. Your endpoint should check that signature before reading the body for business data.
If the signature is absent or invalid, return an error and stop. A failed verification is useful information — record the timestamp, the source IP, and the failure reason, then move on.
One practical detail: compute the signature over the raw bytes you received, not over a parsed or re-serialized version of the body. Parsing can silently alter whitespace or key ordering, which breaks the comparison even when the payload is legitimate.
A second practical detail: treat your signing secret like a credential. Rotate it on a schedule, store it outside your application code, and ensure your intake layer can accept a brief overlap window where both the old and new secret are valid during a rotation.
Step 2 — Record the raw event immediately
Once the signature passes, write the unmodified payload to a durable store before doing anything else. This is your audit log and your replay source. If a downstream system fails tomorrow, or if a vendor sends a corrected event that contradicts an earlier one, you want the original bytes available.
Record at minimum:
| Field | Purpose |
|---|---|
| Received timestamp | Establishes event order independent of vendor clock |
| Vendor event ID | Enables idempotency checks on replay |
| Raw body | Source of truth for reprocessing |
| Signature header | Allows re-verification later if your key rotates |
| HTTP status returned | Confirms you acknowledged correctly |
| Intake stage reached | Shows how far processing got before any failure |
Do not skip this step when you are in a hurry to reach the business logic. The raw record is cheap to write and expensive to reconstruct after the fact.
Step 3 — Normalize the payload into your schema
Vendors change their payload shapes. A field that was a string becomes an array; a status code that was numeric becomes a string literal. Your internal systems should not absorb those changes directly. Normalization is the translation layer that protects them.
Write a thin mapping function that converts the vendor's shape into your canonical event schema. Keep that function versioned and tested. When the vendor announces a schema change, you update one place — the normalizer — rather than hunting through every consumer that touches the data.
If a field is missing or ambiguous in the vendor payload, surface that explicitly in your normalized output rather than silently defaulting. A null with a flag is more useful than a fabricated value that looks real.
Track normalization failures as a distinct event state. An event that passed verification but failed normalization tells you something specific: the vendor's shape changed, or your mapping has a gap. That distinction matters when you are triaging a queue at 2 a.m.
Step 4 — Route the event exactly once
After normalization, the event needs to reach the right internal system — your CRM, your billing engine, your provisioning service. The routing step should be deterministic: given this event type and this normalized shape, there is one defined destination.
Idempotency matters here. Vendors sometimes retry delivery when they do not receive a timely acknowledgment. Your routing logic should check the vendor event ID against the records you wrote in Step 2. If the event has already been routed, acknowledge the duplicate and stop.
Avoid fan-out at this stage unless your architecture explicitly requires it. Routing to one owner first, and letting that owner decide what to notify downstream, keeps accountability clear.
A simple event-state model
One of the most practical additions to this pattern is a small state machine that each event moves through. It gives your team a shared vocabulary and makes your failure queue meaningful rather than opaque.
A minimal set of states:
- received — the request arrived and was acknowledged.
- verified — the signature check passed.
- verification_failed — the signature check failed; no further processing.
- recorded — the raw payload is in durable storage.
- normalized — the payload has been mapped to your canonical schema.
- normalization_failed — the mapping raised an error; held for review.
- routed — the normalized event has been delivered to its owner.
- duplicate — the vendor event ID was already routed; acknowledged and discarded.
- stalled — routing was attempted but the destination did not accept the event.
Each state transition writes a record. When you open a stuck event, you can see exactly where it stopped and why. That visibility is the difference between a 10-minute fix and a 2-hour investigation.
Production readiness checklist
Before you go live with a new vendor webhook integration, run through these items:
- Signature verification is enforced, not optional, for every inbound request.
- Raw storage is confirmed durable — a restart or deployment does not lose unprocessed events.
- Idempotency is tested by replaying the same event ID twice and confirming the second pass produces no side effects.
- Normalization failures route to a review queue, not to a silent discard.
- Retention windows are defined in writing for both raw and normalized events.
- A replay procedure exists and at least one team member has run it in a non-production environment.
- Ownership is documented — every event type maps to a named team or role.
- Alerting is in place for a growing failure queue, not just for total outages.
This list is not exhaustive, but covering these 8 points removes the most common causes of silent data loss.
Using Apivom Atlas for this pattern
Apivom Atlas is an API integration gateway designed to sit between vendor systems and your internal applications. As a gateway, Apivom Atlas provides a managed layer where you can implement the intake sequence described above — without embedding that logic directly in each application that consumes vendor data.
For integration owners managing connections across multiple vendors, having a single gateway layer means that changes to intake behavior — such as updating a normalization rule or rotating a signing secret — can be made in one place. That consolidation reduces the risk of inconsistent handling across different parts of your stack.
Apivom Atlas is built for the software channel, which means it is shaped around the vendor relationships that resellers, VARs, and distributors work with every day.
Where it falls short
Webhook intake cannot fix 2 things that sit outside its scope, whether you build the pattern yourself or use Apivom Atlas.
First, incomplete vendor payloads. If a vendor omits a field your business logic requires, no intake pattern can invent it. You will need to call back to the vendor API to fetch the missing data, or accept that some events will require manual review. The normalization step makes the gap visible; it does not fill it.
Second, unclear business ownership. An intake pattern routes events to a defined destination. If your organization has not agreed on which team owns a given event type, the event will arrive at an endpoint and then stall. The state model surfaces the ownership gap; it does not resolve it. That conversation needs to happen before you go live, not after the first production incident.
Keeping enough evidence to recover
Reliability in webhook intake is mostly about evidence. When something fails, you need to answer: did we receive the event, did we verify it, did we normalize it correctly, and did we route it to the right place? Each step in the pattern above produces a record that answers one of those questions.
Retention policy matters. Keep raw events long enough to cover your vendor's retry window plus your own investigation window. Keep normalized events long enough to support audit requests from your customers or your finance team. Define those windows explicitly — "long enough" is not a policy.
Review your failure queue on a schedule, not just when something breaks. A small number of stuck events is normal; a growing queue is a signal that a vendor schema has changed or a downstream system is degraded. The event-state model described above makes that review fast because you are reading states, not parsing raw payloads.
See how Apivom Atlas handles this at https://apivom.com/products/atlas.